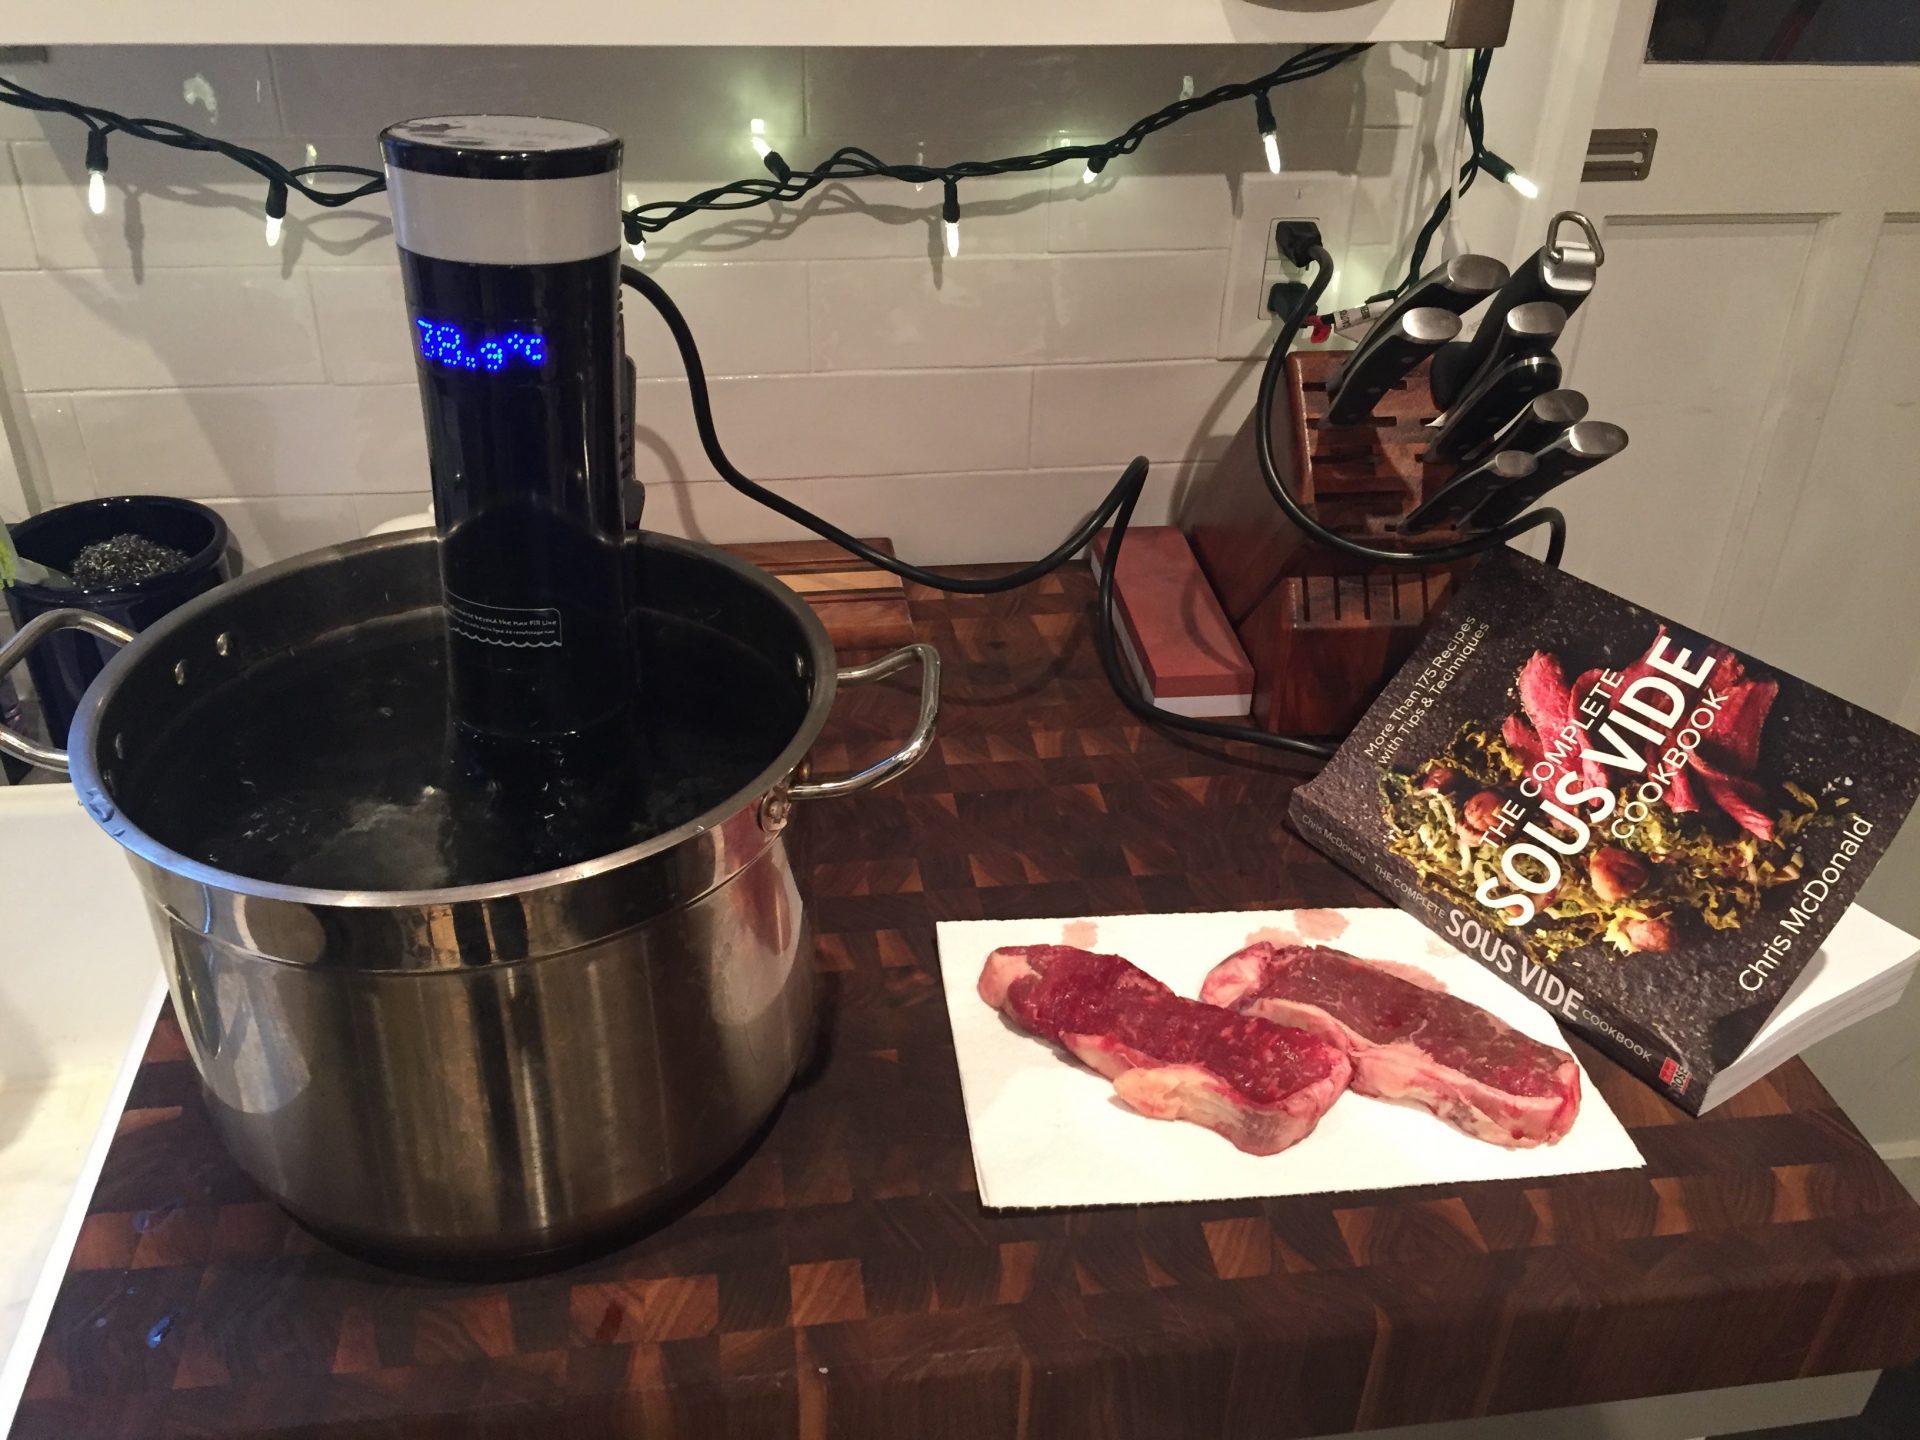
Starting off simply : getting to know the Sansaire Sous Vide with a couple of New York steaks.
Sansaire Sous Vide Immersion Circulator – Approx. $260 through Amazon (at time of writing)
It was whilst reviewing Chef Chris McDonald‘s excellent Complete Sous Vide Cookbook that I was given the opportunity to try our the Sansaire Sous Vide Immersion Circulator, with MacDonald having told me that it was one of his favourite units throughout his extensive recipe testing.
Having never cooked anything sous vide previously, it was with some trepidation I launched myself into an exploration of the method, and I can think of no better unit for the novice than the Sansaire.
Looking not unlike a 48cm high pen cap, the Sansaire clips onto the side of your water-filled pot (as pictured above), switches on simply, and your target temperature (Centigrade or Fahrenheit are chosen by a button to the right of the power button) is set through the turning of a grey-coloured collar at the top of the unit. A blue LED display let’s you know where the temperature is currently at, and your target temperature can be viewed for a few seconds by pressing the target button to the left of the power switch. And that’s pretty much it.
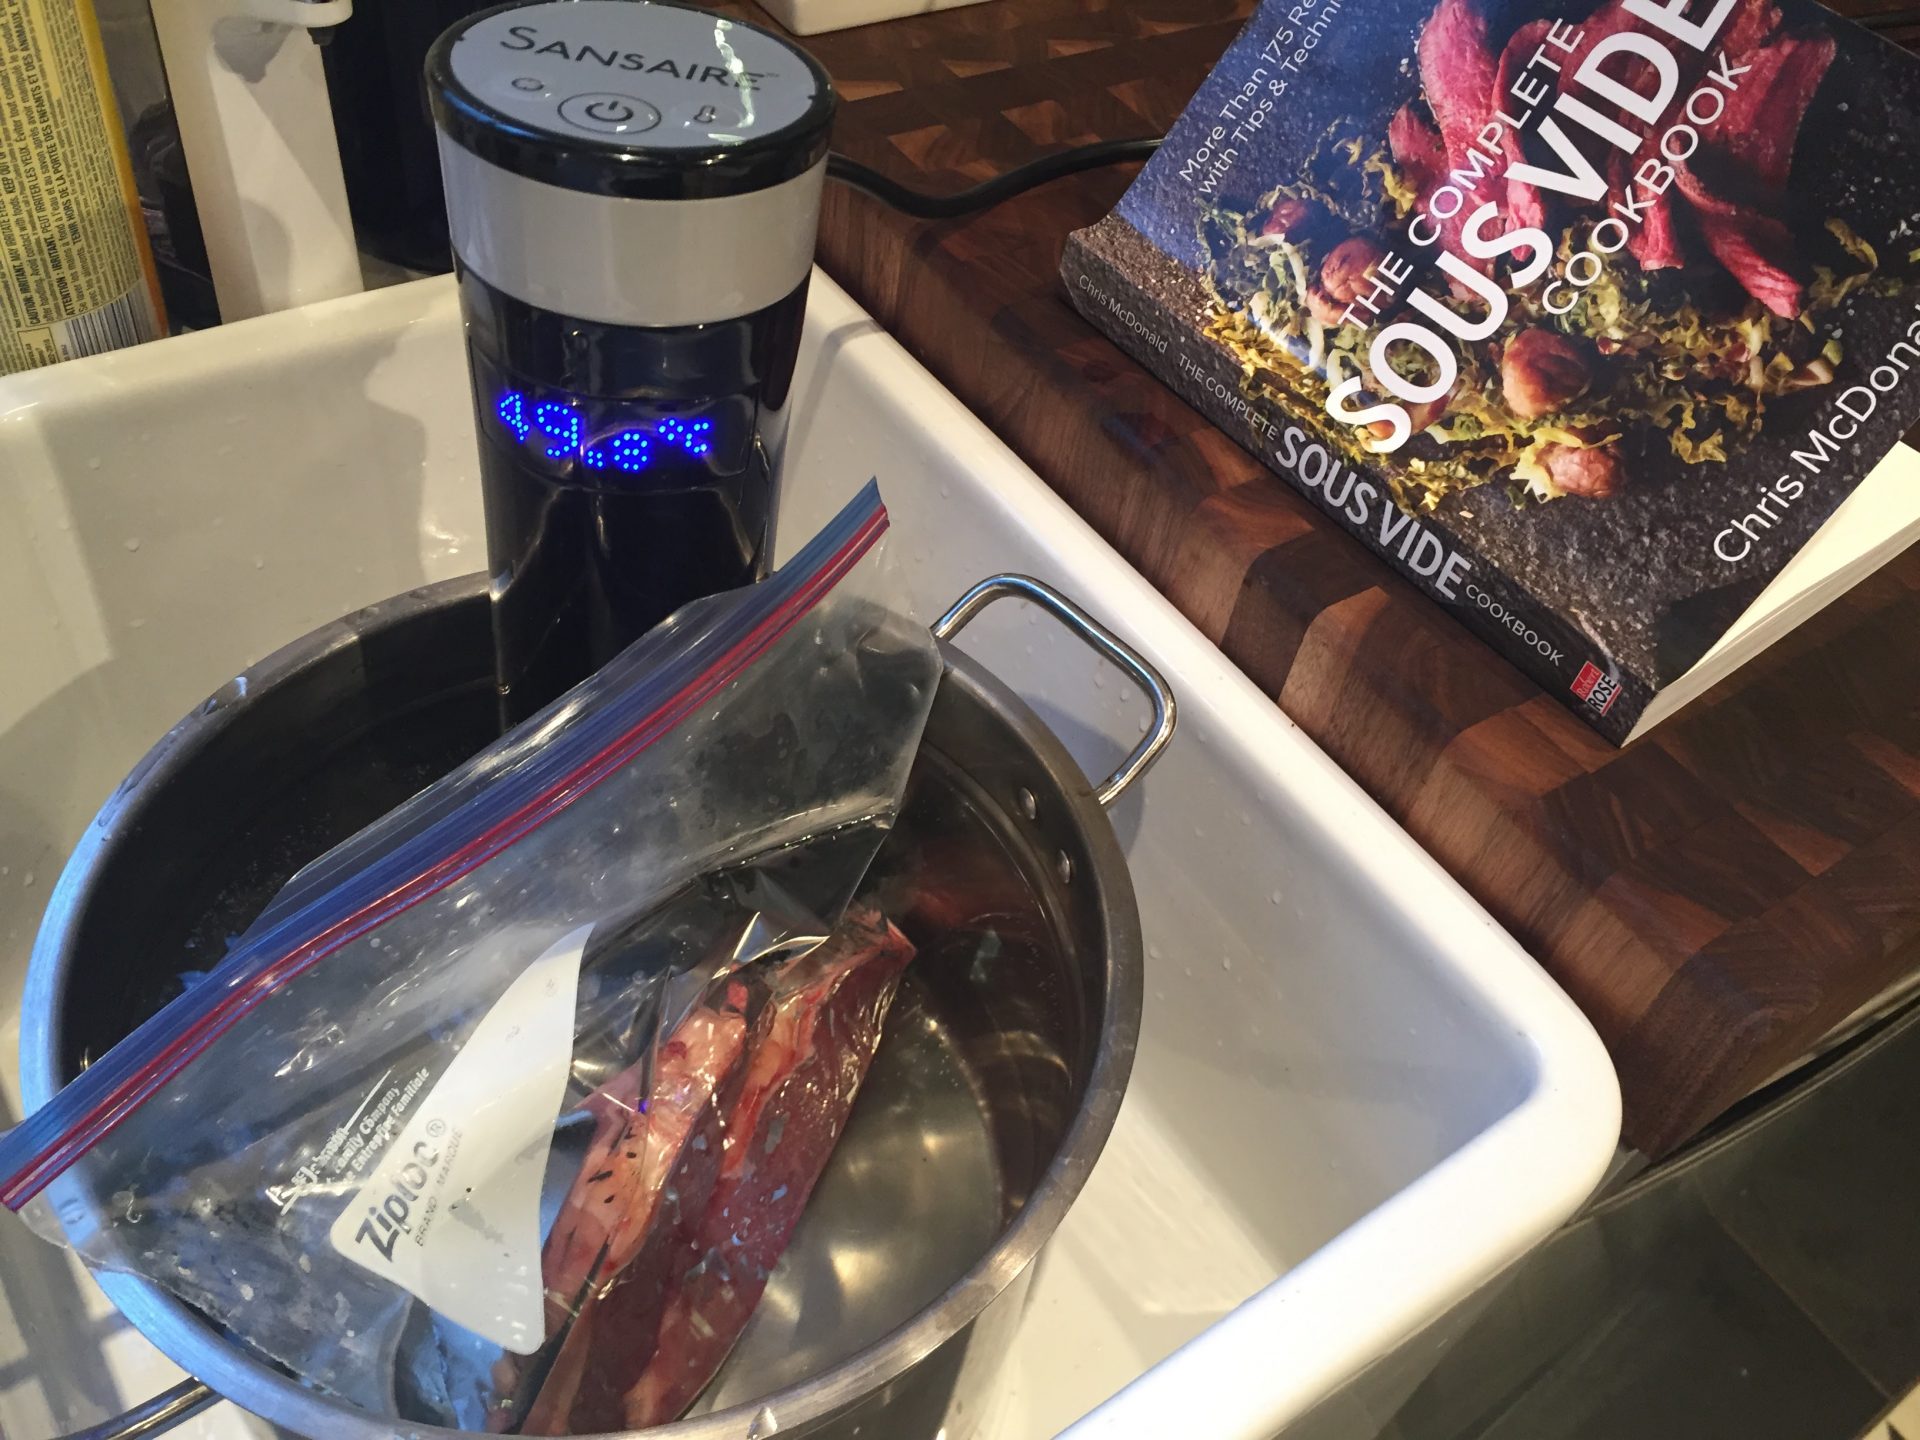
A shot to show the layout of controls on the top of the Sansaire unit. Here you can see that I am using a standard Ziploc freezer bag rather that splashing out on a vacuum sealer.
I decided to forgo the additional expense of a vacuum sealing unit (approximately another $200), instead opting for the water displacement method using freezer bags as outlined in MacDonald’s book. While this workaround does the job adequately enough, I cannot stress enough the need to use decent brand name freezer bags, as the cheaper ones just don’t cut it. Even using the hardiest of Ziploc bags, displacing the water from them can be a little tricky, and you always run the risk of having water get into the bag as you are sealing it, or the seal to break during the cooking process. Still, in a pinch, this method does a decent job.
Another thing I learned pretty rapidly is to ensure that your sealed bag or bags all fit into the pot alongside the immersion circulator BEFORE the water gets hot. I tell you, the air was absolutely blue as I made this amateur’s mistake with my second adventure with the unit, attempting to submerge three bags of two lamb shanks each into some pretty damn hot water. I won’t be doing that again any time soon.
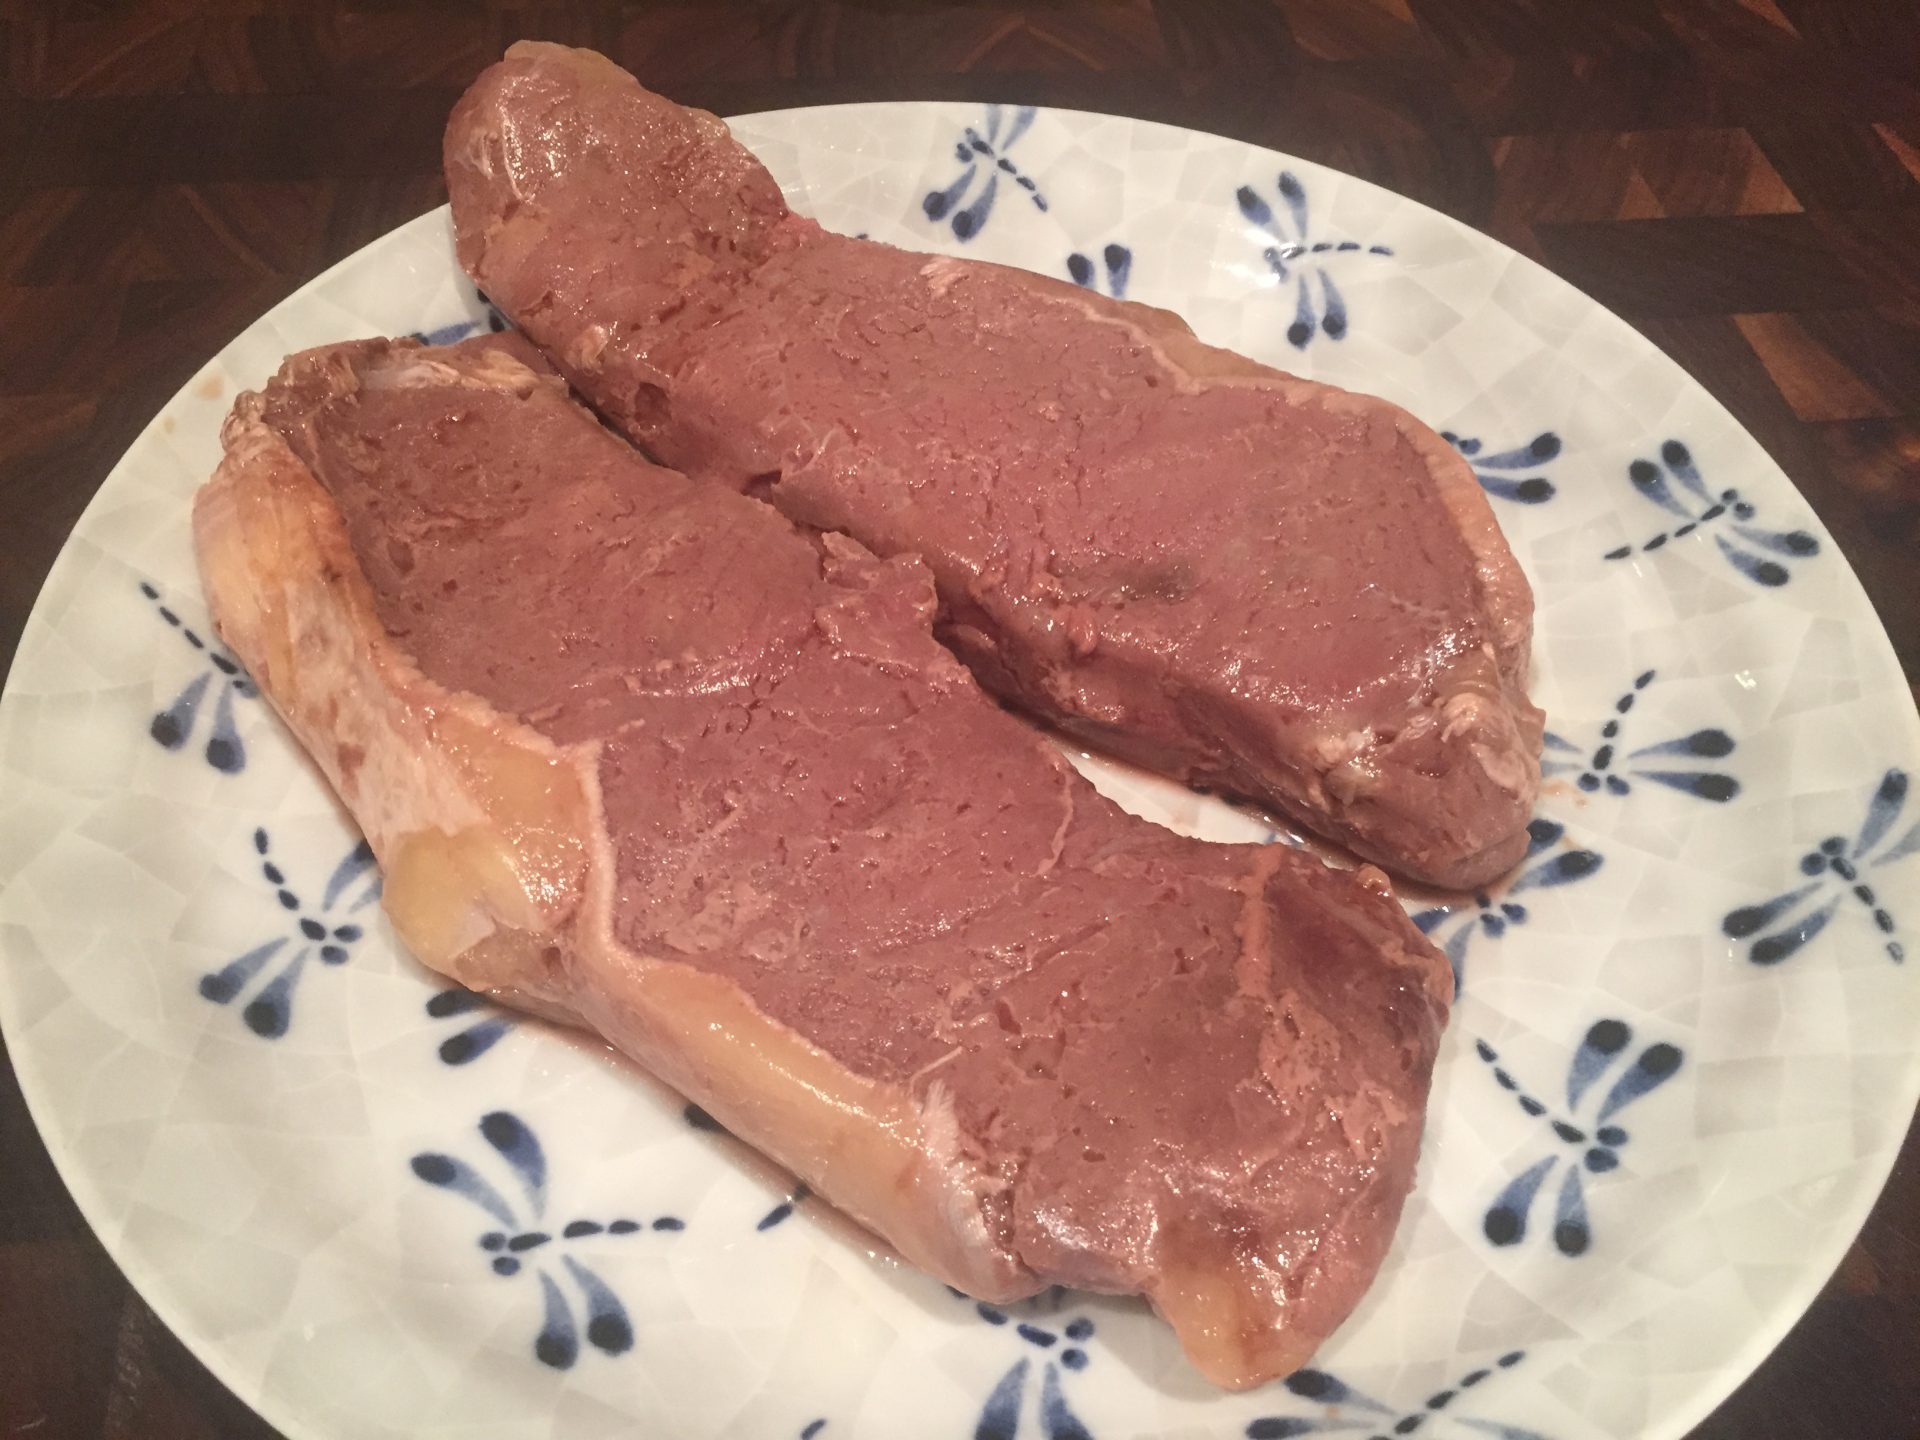
If you are sous viding before you brown, the post-sous vide/pre-browing New York steaks are not the most attractive of things.
I played about with pre-browning and after-browning and seemed to achieve the best results with the latter. As you can see in the picture above, meat coming from the sous vide pre-browning does not look the most appetising. But slap them into a really hot grill pan (preheated) for a few seconds each side and BANG!
They looked perfect, tasted delicious, and the texture and the juiciness was simply extraordinary. My first jaunt with the Sansaire had been a real success, with my wife telling me she thought them the best steaks I had ever cooked.
If anything, I had left them just a little too long in the grill pan ; witness the touch of grey around the outsides of the slices. I’m guessing that using a blow-torch one would be able to achieve even better results… maybe I should add that to my Xmas list for 2017?
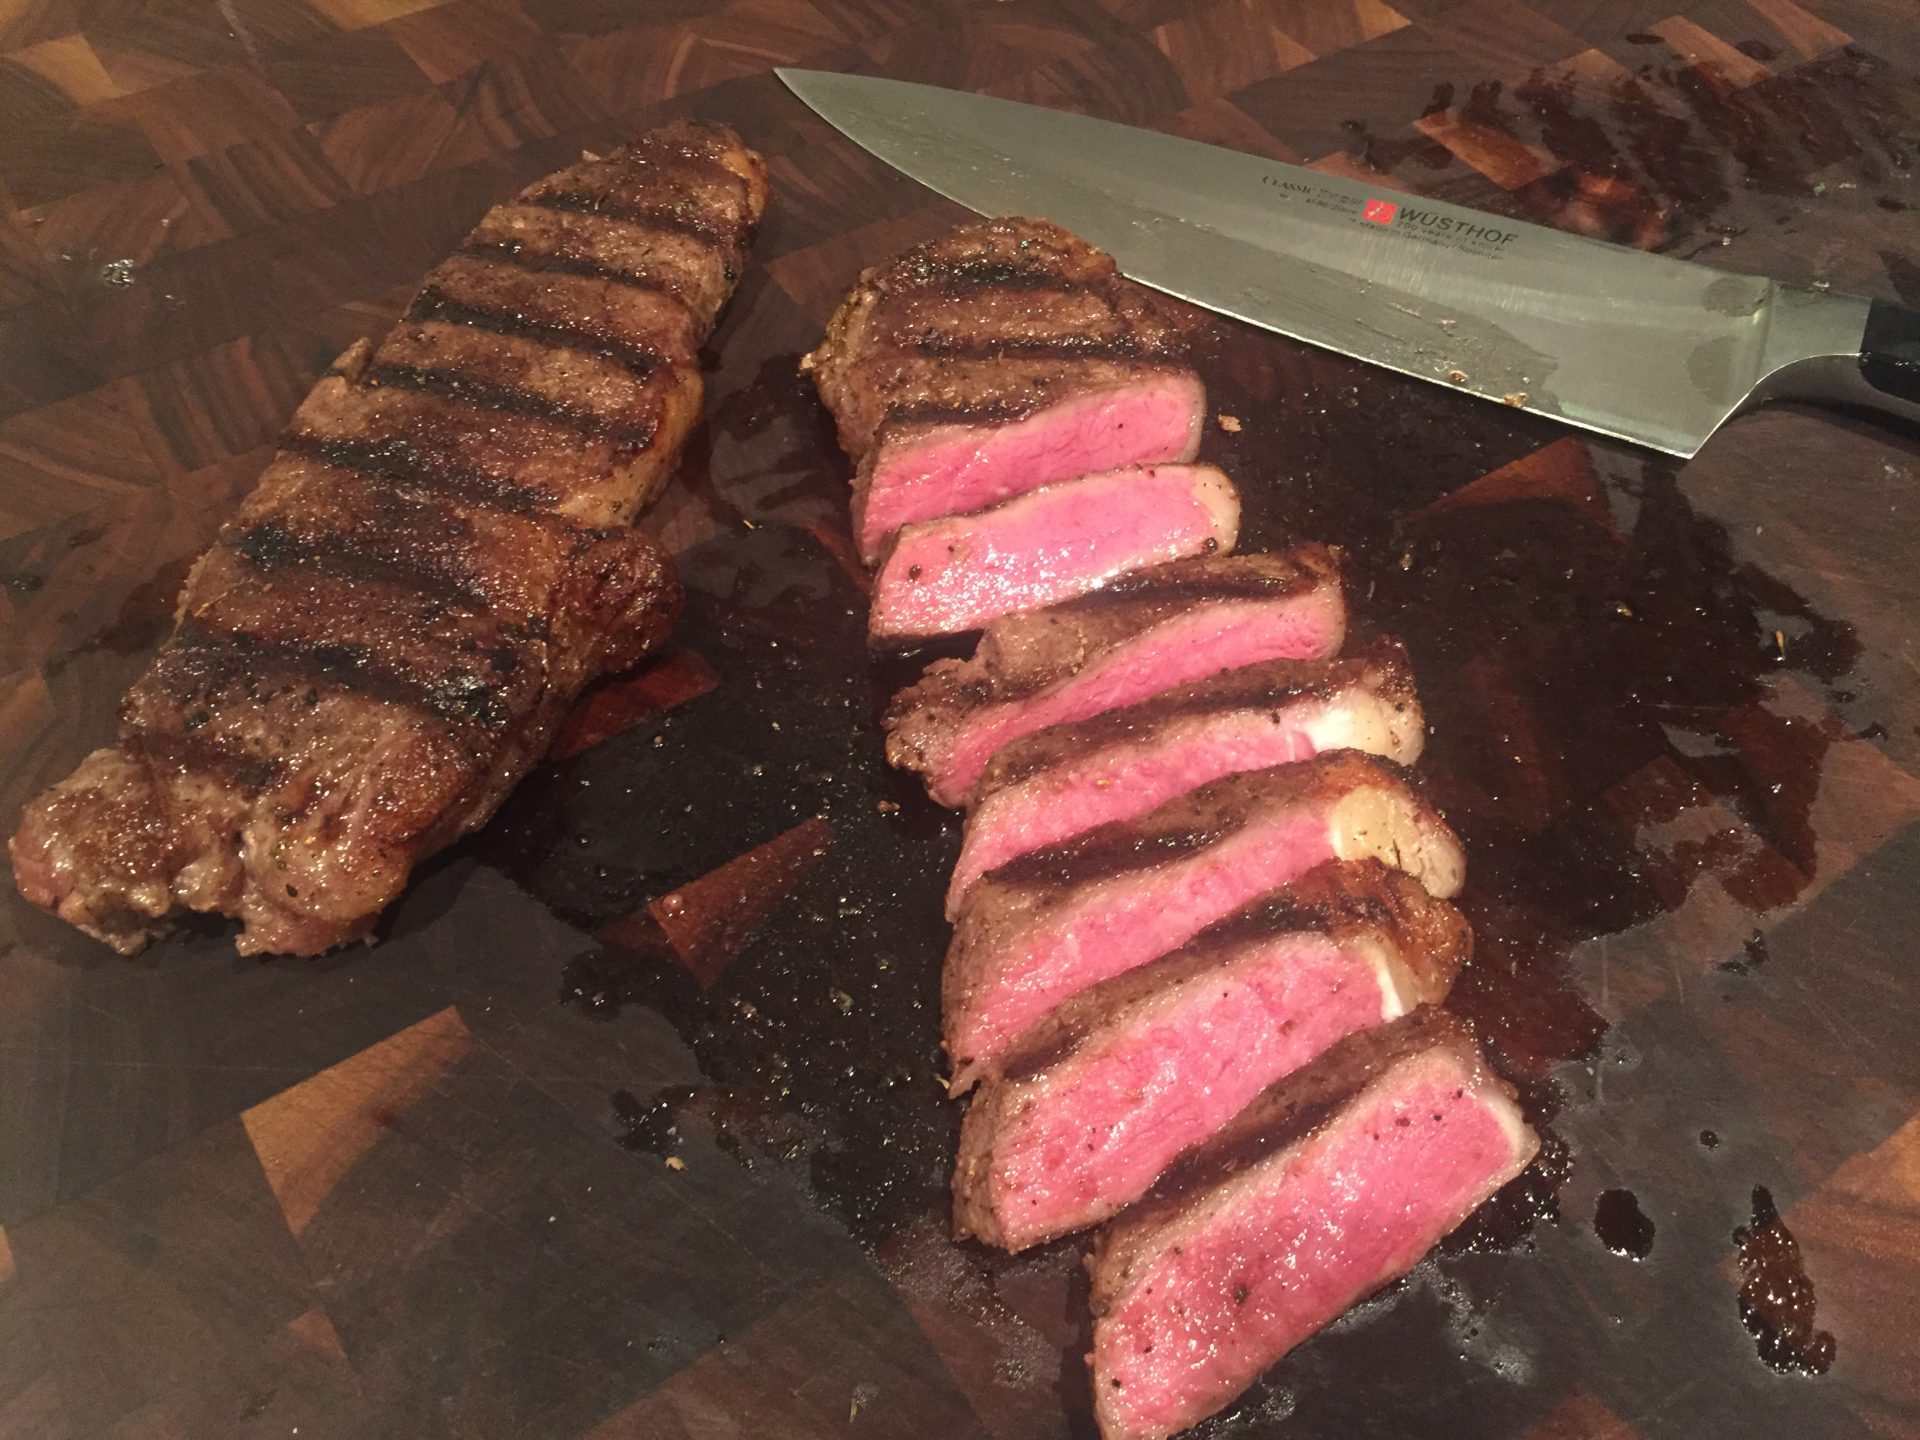
We were both really pleased with our very first foray into sous vide with the Sansaire unit, although, in hindsight, I probably left them a little too long in the grill pan. Looks as if I am going to have to add a Sansaire blow-torch to my kitchen wishlist.
Next up were some (pre-browned) lamb shanks. They were in with the circulator for 24 hours at 158 degrees Fahrenheit. This was an interesting one, as with the sous vide method the fat that is usually rendered out of the meat during braising remains within, meaning that the resultant shanks have a particular succulence that is almost otherworldly, and a little disarming at first.
The lamb shanks were undoubtedly a success with our dinner guests, as they finished off each and every morsel from the bones. Another terrific performance from the Sansaire unit.
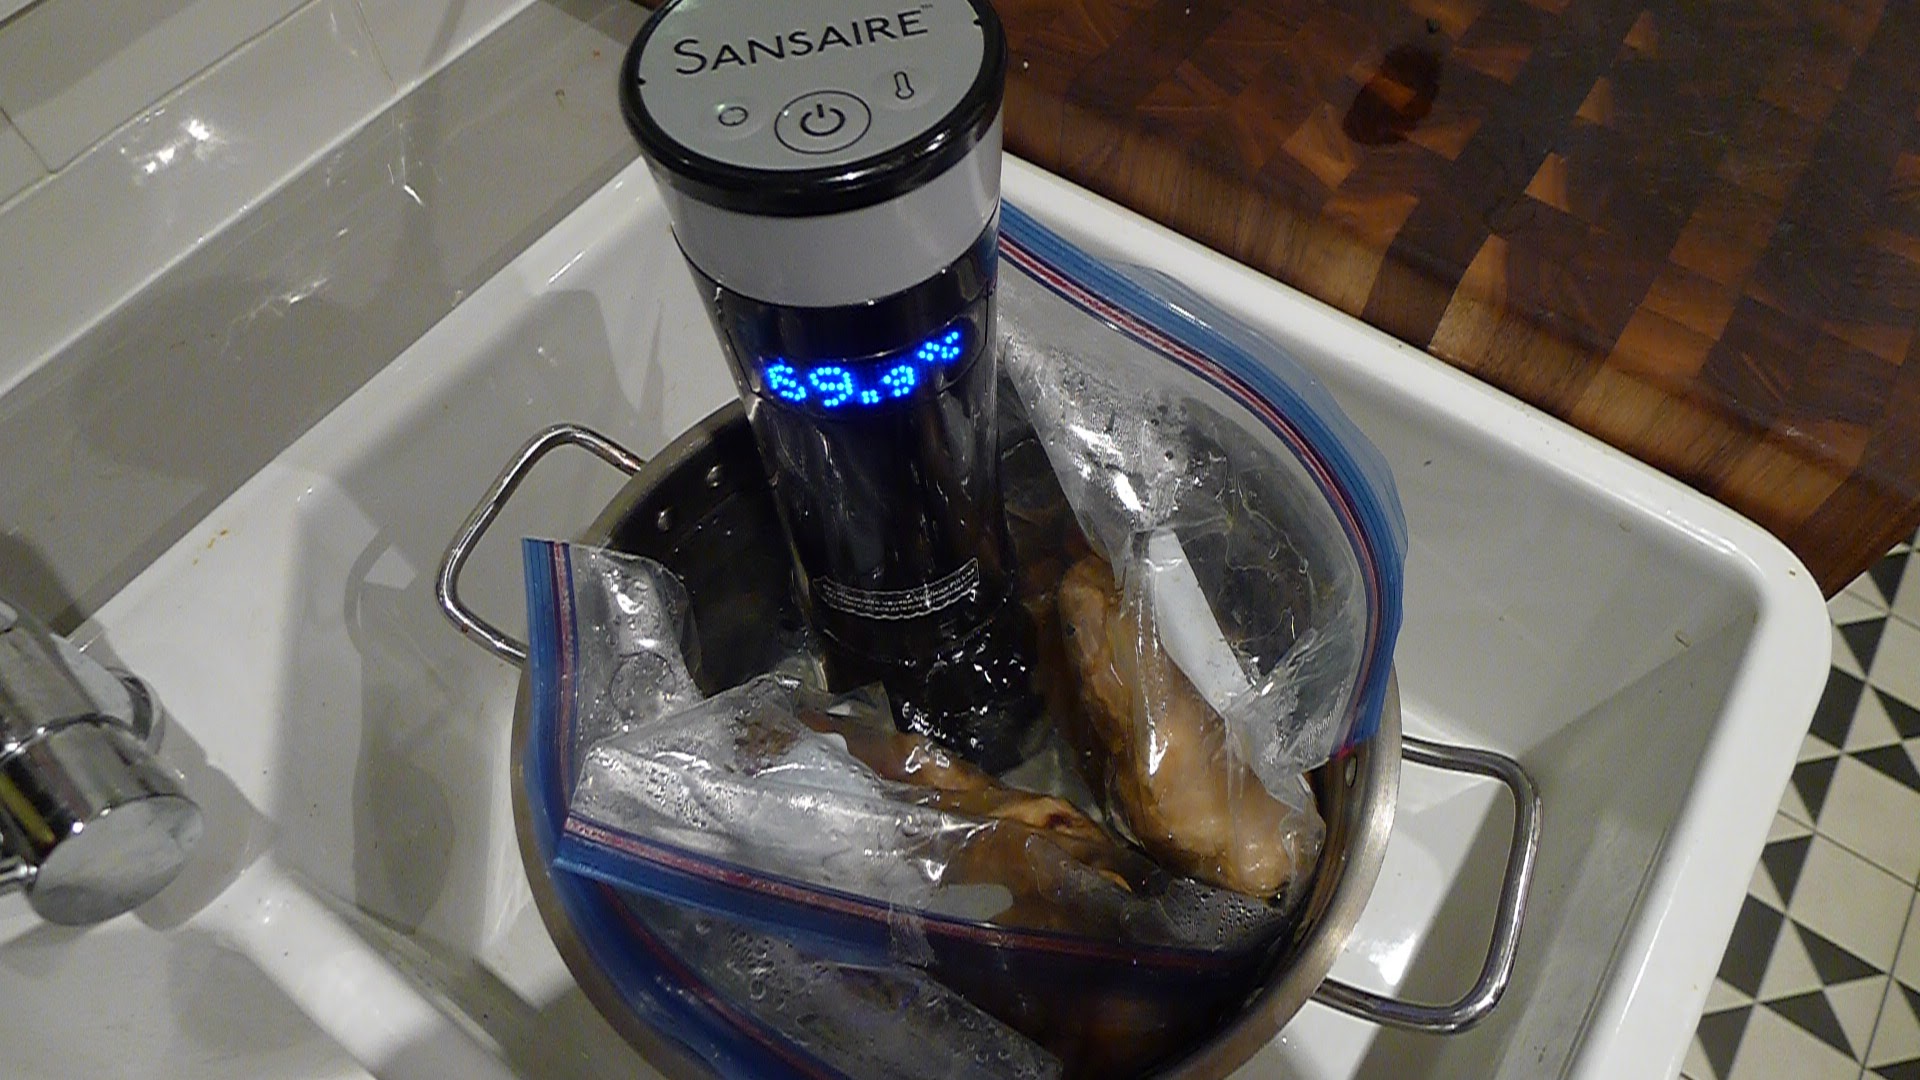
This is where I hurt myself quite a bit… attempting to fit three bags of two shanks each into water which was already hot. That’s right folks… you should see if they all fit and adjust the water level when the water is still cool.
These were served with sauce that also involved a little sous vide preparation : Coq au Vin with balsamic pearl onions, that left as a byproduct some amazingly powerfully-flavoured vinegar that worked a real treat with some bitter salad leaves and pressure-cooked chicken gizzards a few days later.
Another observation (for the longer cooking times) is that the user should be especially mindful of the water level in the vessel. You’ll lose some water through evaporation unless you cover the pot with plastic wrap, and even then it pays to keep a close eye on it, topping up with hot water when necessary. The Sansaire unit does have low water level protection built-in, but I was pretty vigilant in keeping the level up high enough to cover all of the shanks.
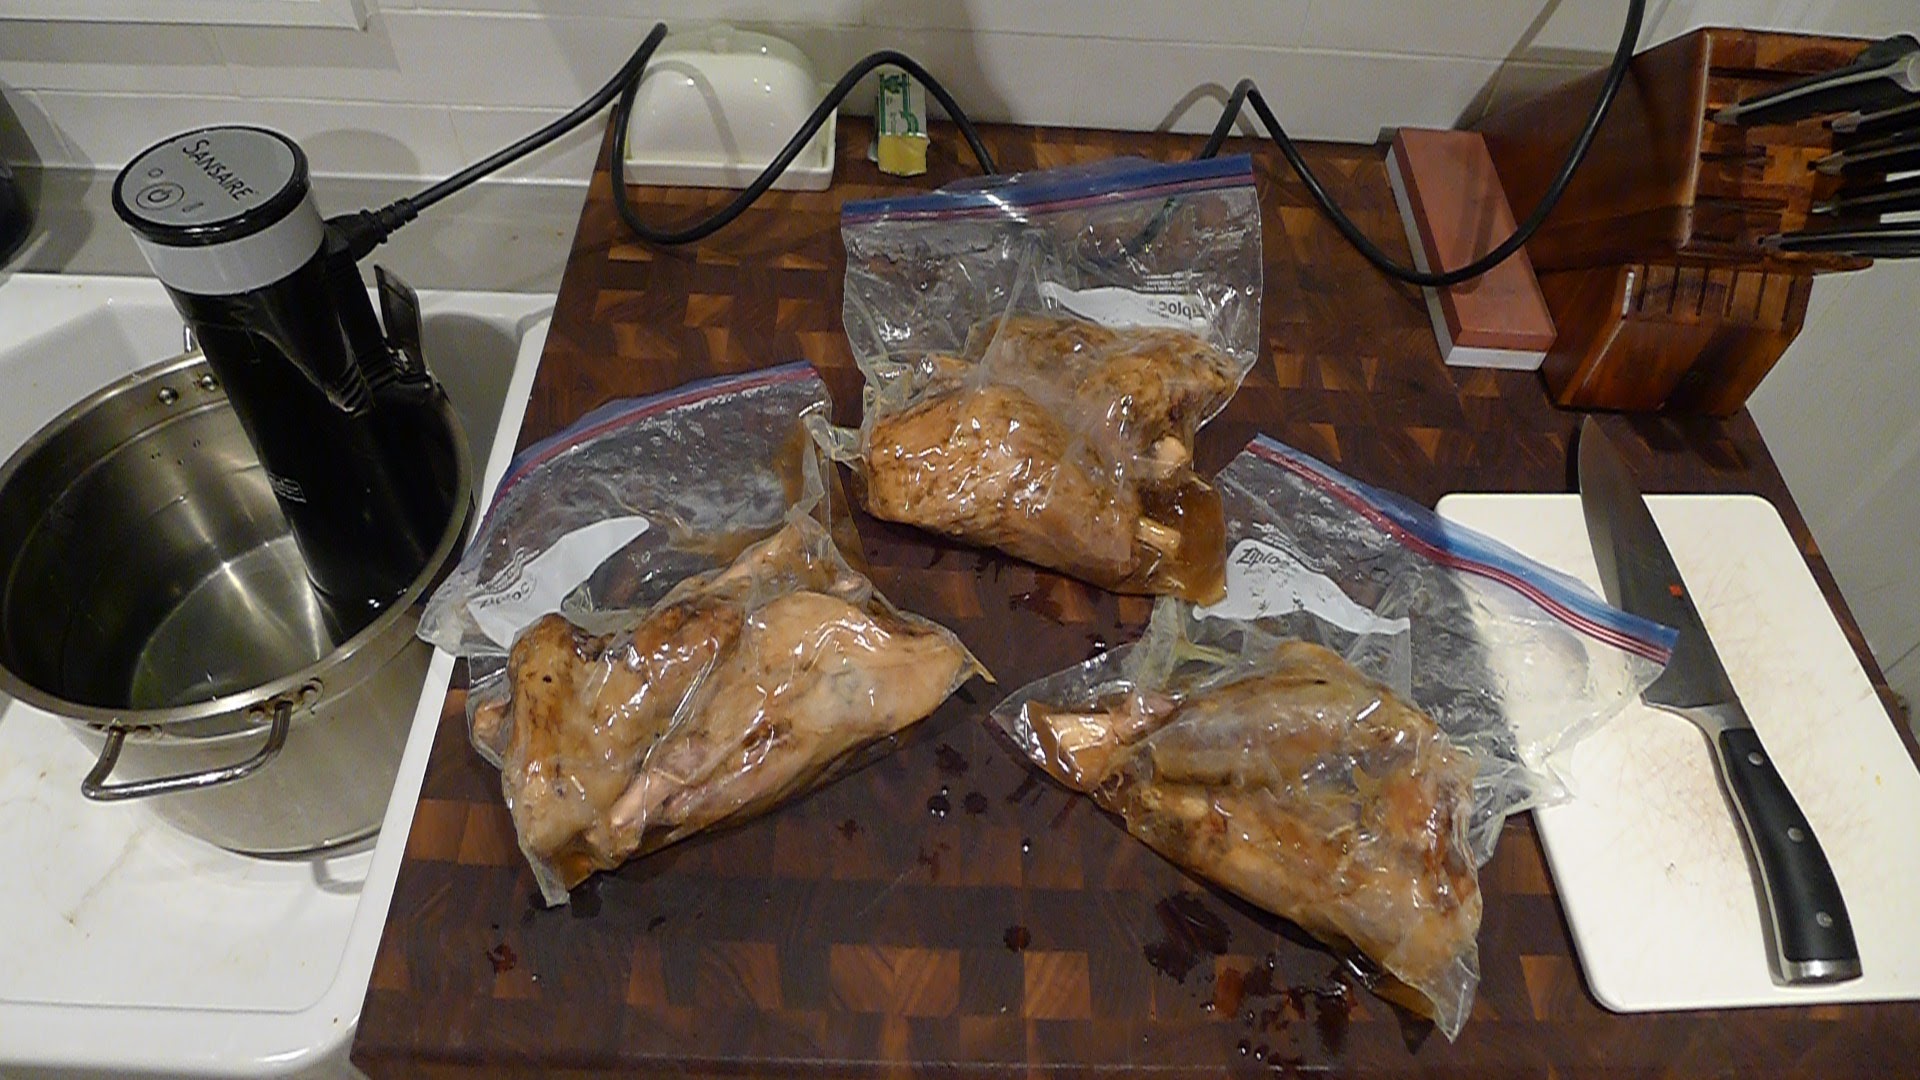
The six lamb shanks post-sous vide (these ones had been pre-browned). Even with the meat being sealed within the bags, the smell of lamb was just tremendous, filling the entire ground floor.
My next experiment with the Sansaire unit was for the traditional family get-together upon Xmas day. I was cooking for five of us (plus two tots) and so I decided to attempt a three bird “roast” consisting of a capon, a heritage chicken, and a guinea hen, all done sous vide individually and then finished off on the day, at the location, in a really hot oven together.
This allowed me to take my time with the preparation in the days leading up to the 25th, then transport them to the family member’s home still under vacuum, and finish them all off at the same time. And boy, it worked out well!
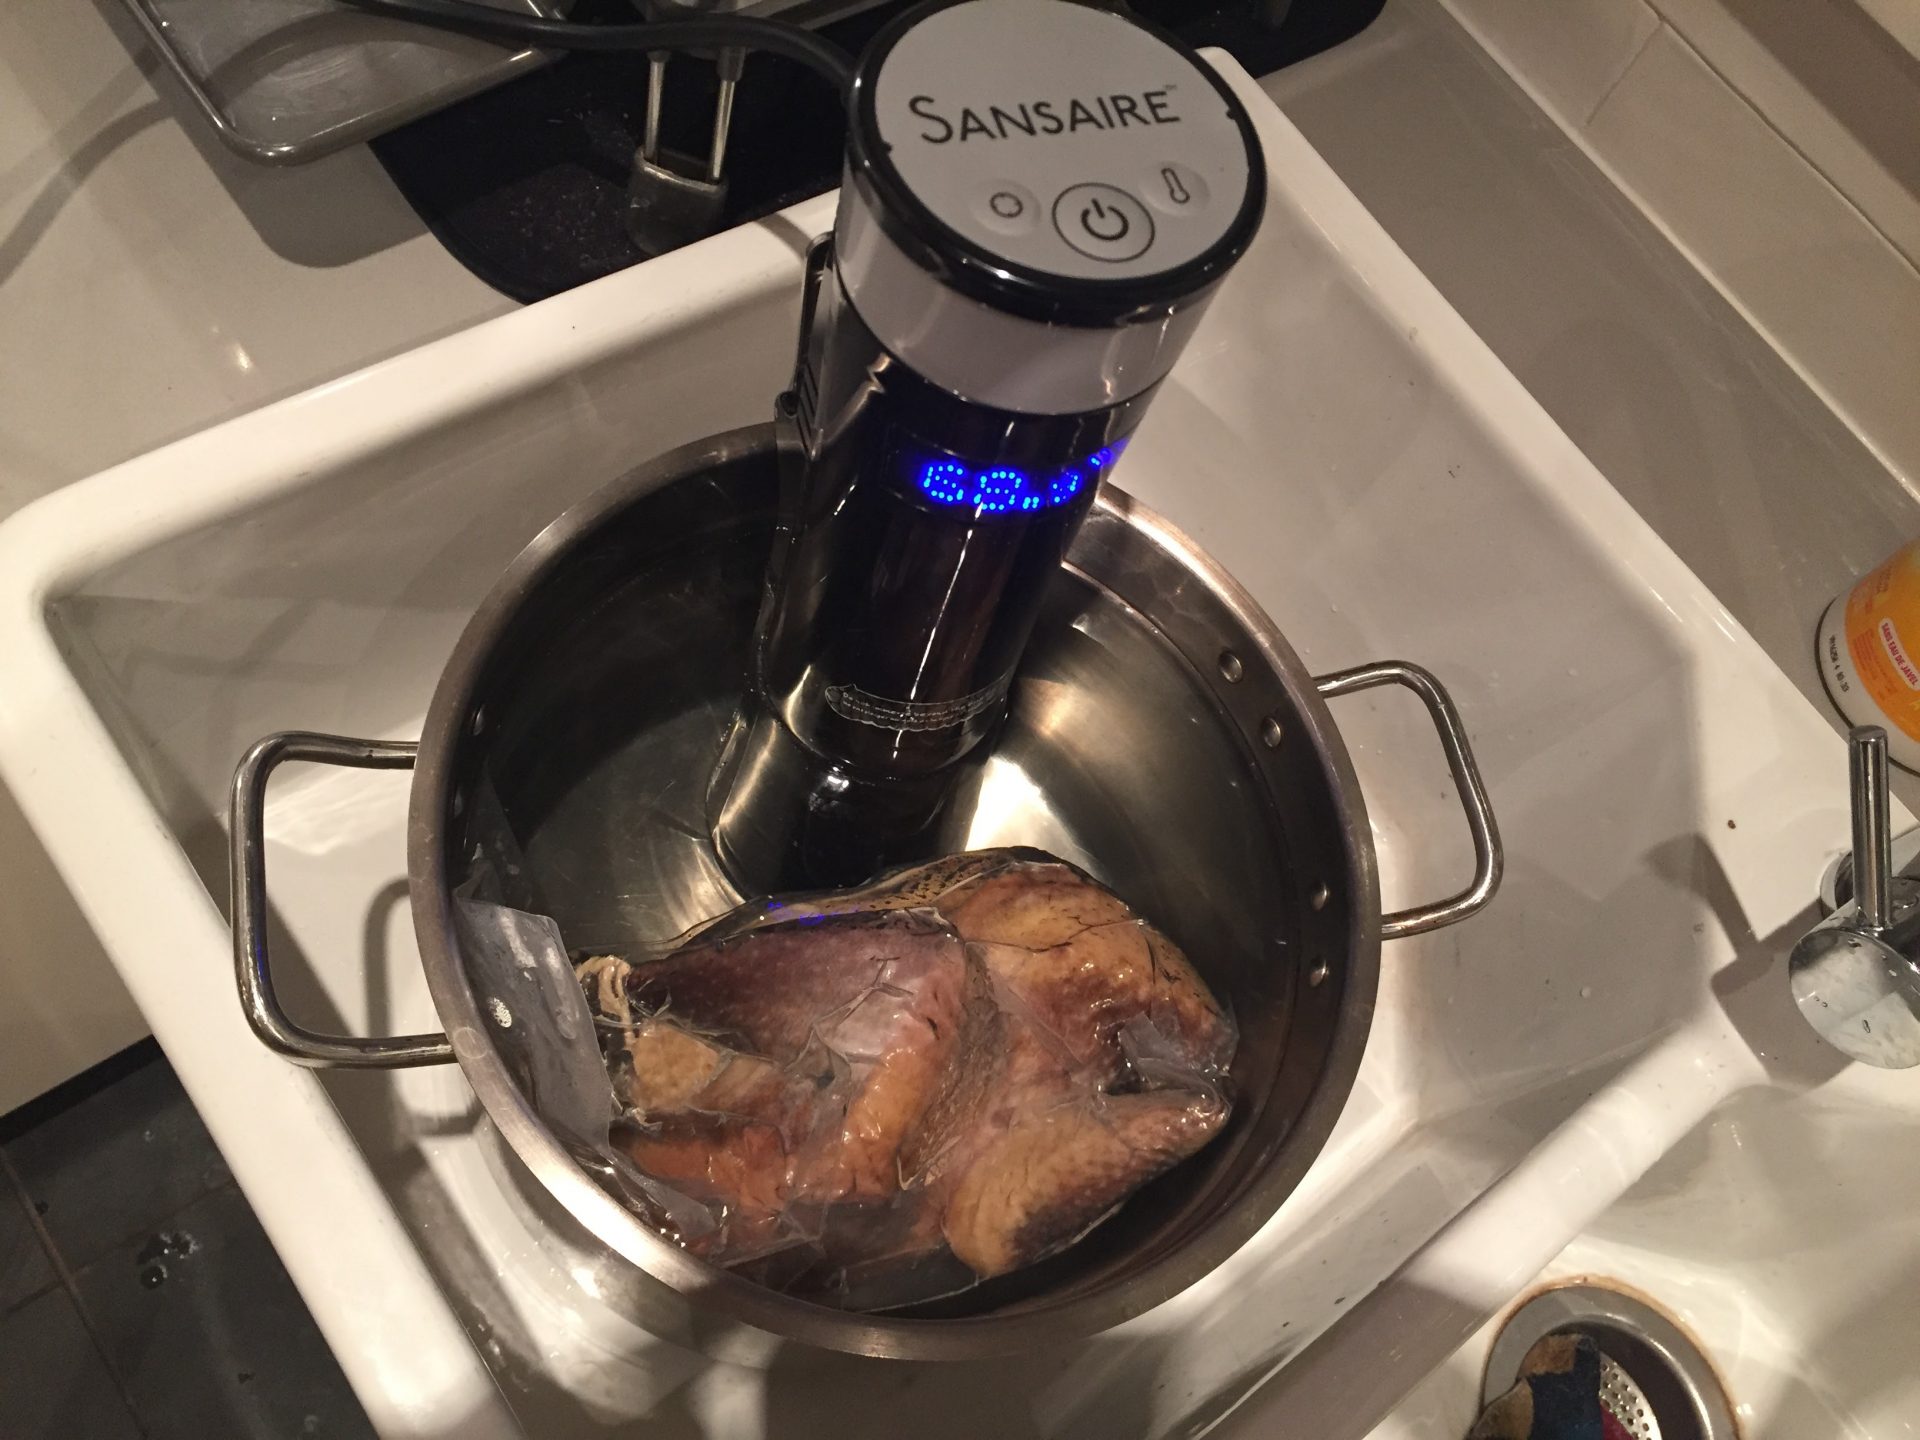
The guinea hen spent six hours getting ready for Xmas day. If you are going to do whole birds just be sure to fill the cavity with a lemon or something to displace the air that would keep it buoyant.
In the case of these three birds I had the butchers kindly stuff them with a single lemon and then vacuum seal them for me on-site. If you had a vacuum sealer at home it would be possible to fill the cavity with something more complex, but the aim of this butcher-assisted stuffing was simply to make the birds less buoyant in the pot so they would cook more evenly.
Sous vide makes you reassess how you gauge a meats doneness, as often we do all of this by colour. Because of the nature of the method you have to rethink all of this, as can be witnessed with the “raw blood” in the picture below. Remember, these three birds are already fully cooked when they emerge from the sous vide.
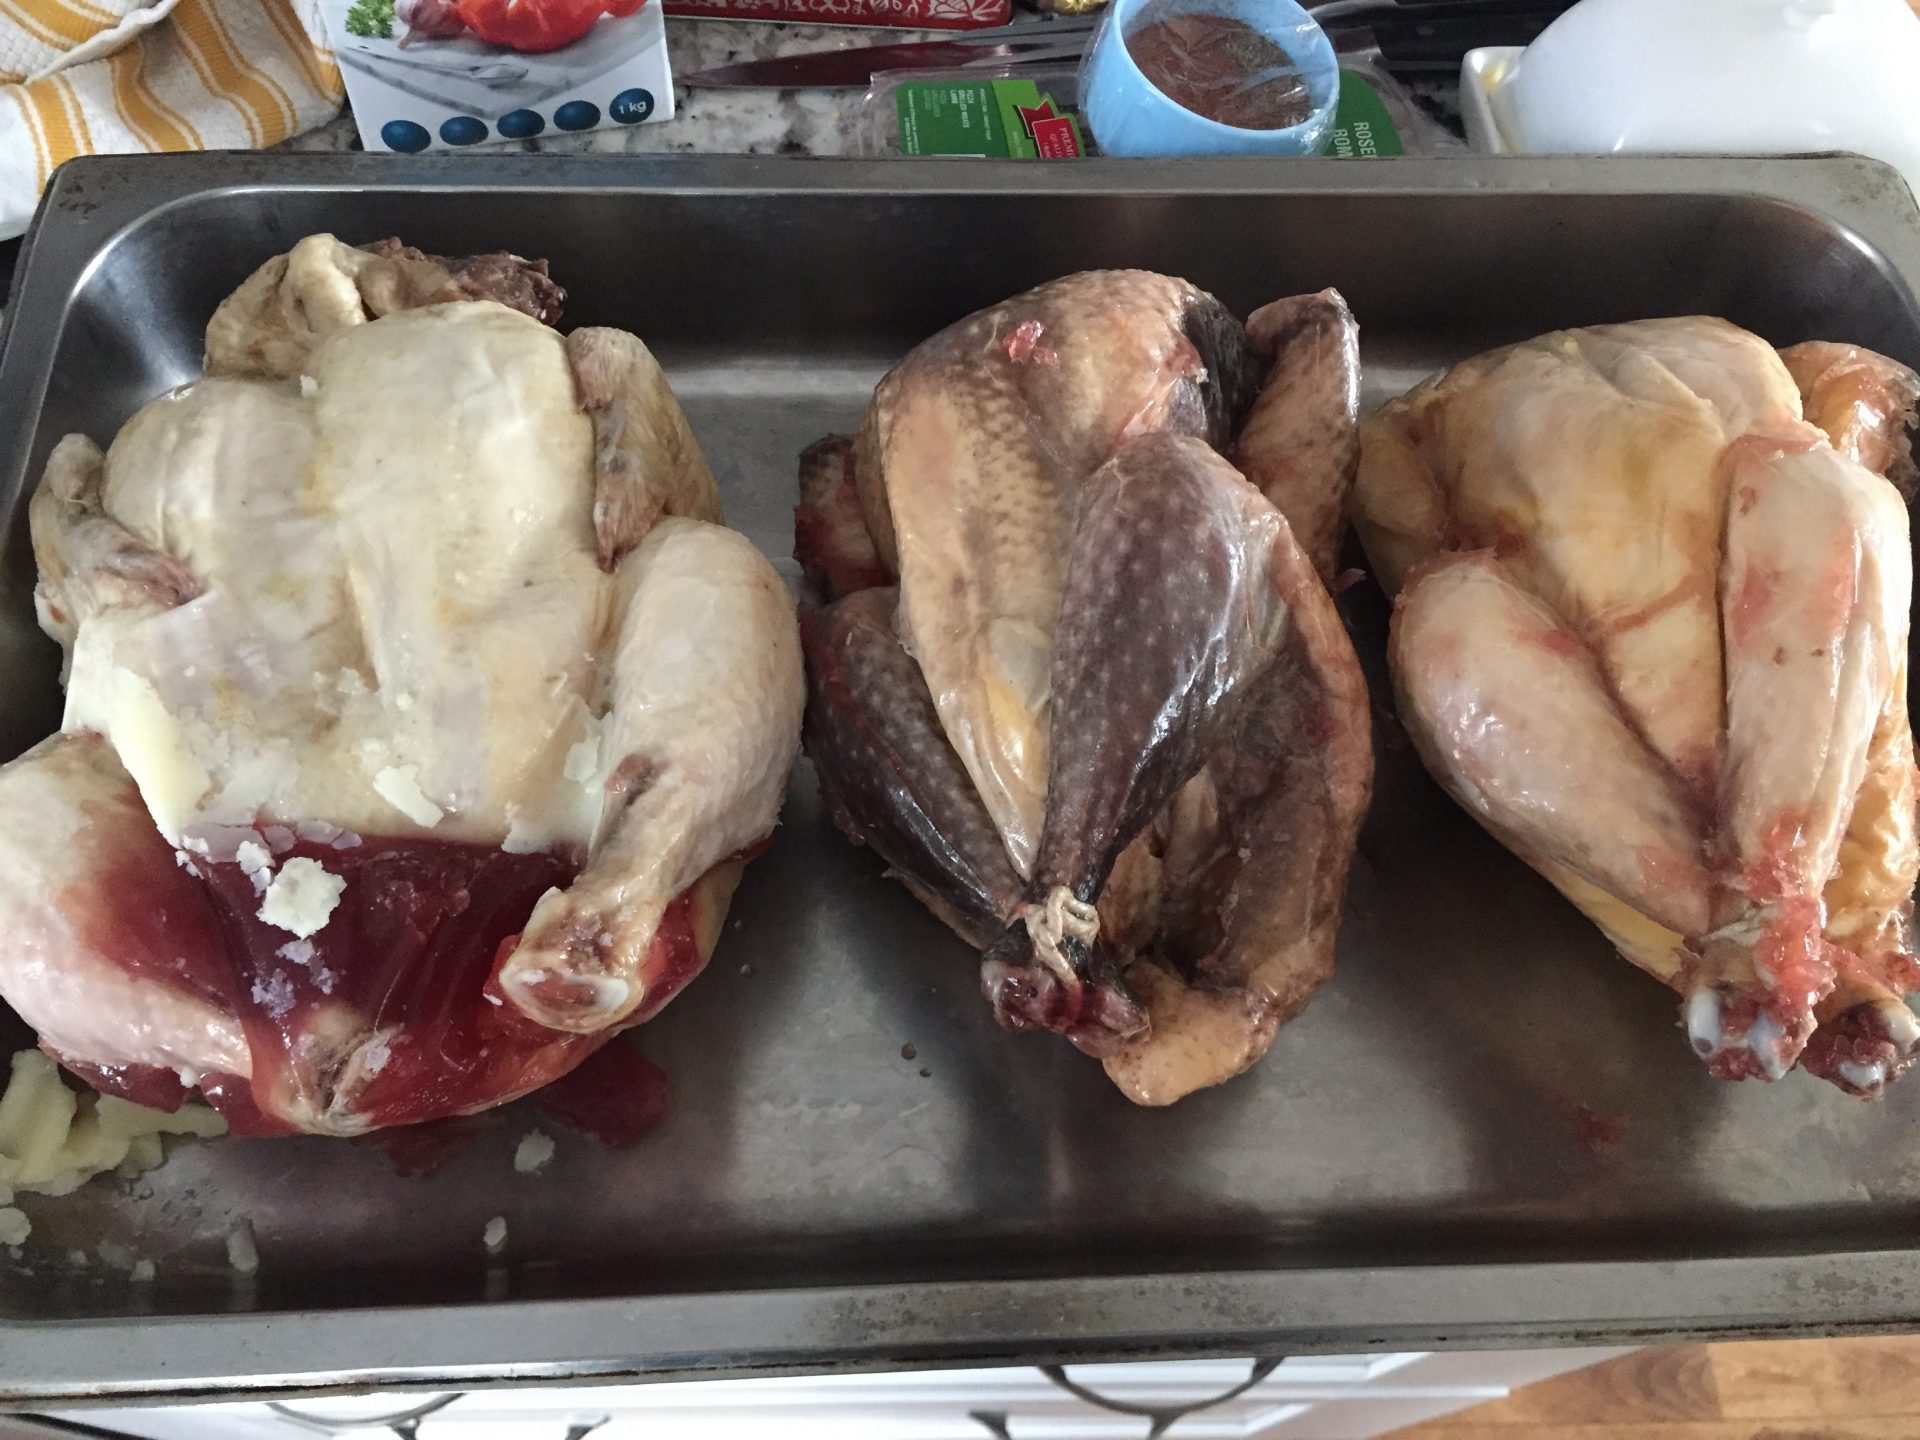
Post-sous vide and pre-browning I thought that all three birds looked quite tasty. Interesting to note is the gelatinous juice that formed with the capon on the left. In the oven this melted and created a fabulous pan juice.
For the record, all three were cooked (read : pasteurised) with the Sansaire at 156 degrees Fahrenheit for six hours each, and then finished off in a 450 degree oven for 25 minutes after being brought to room temperature and then smothered in a liberal application butter, salt, pepper, garlic salt, and paprika, then laid on a bed of peeled garlic, rosemary, and thyme.
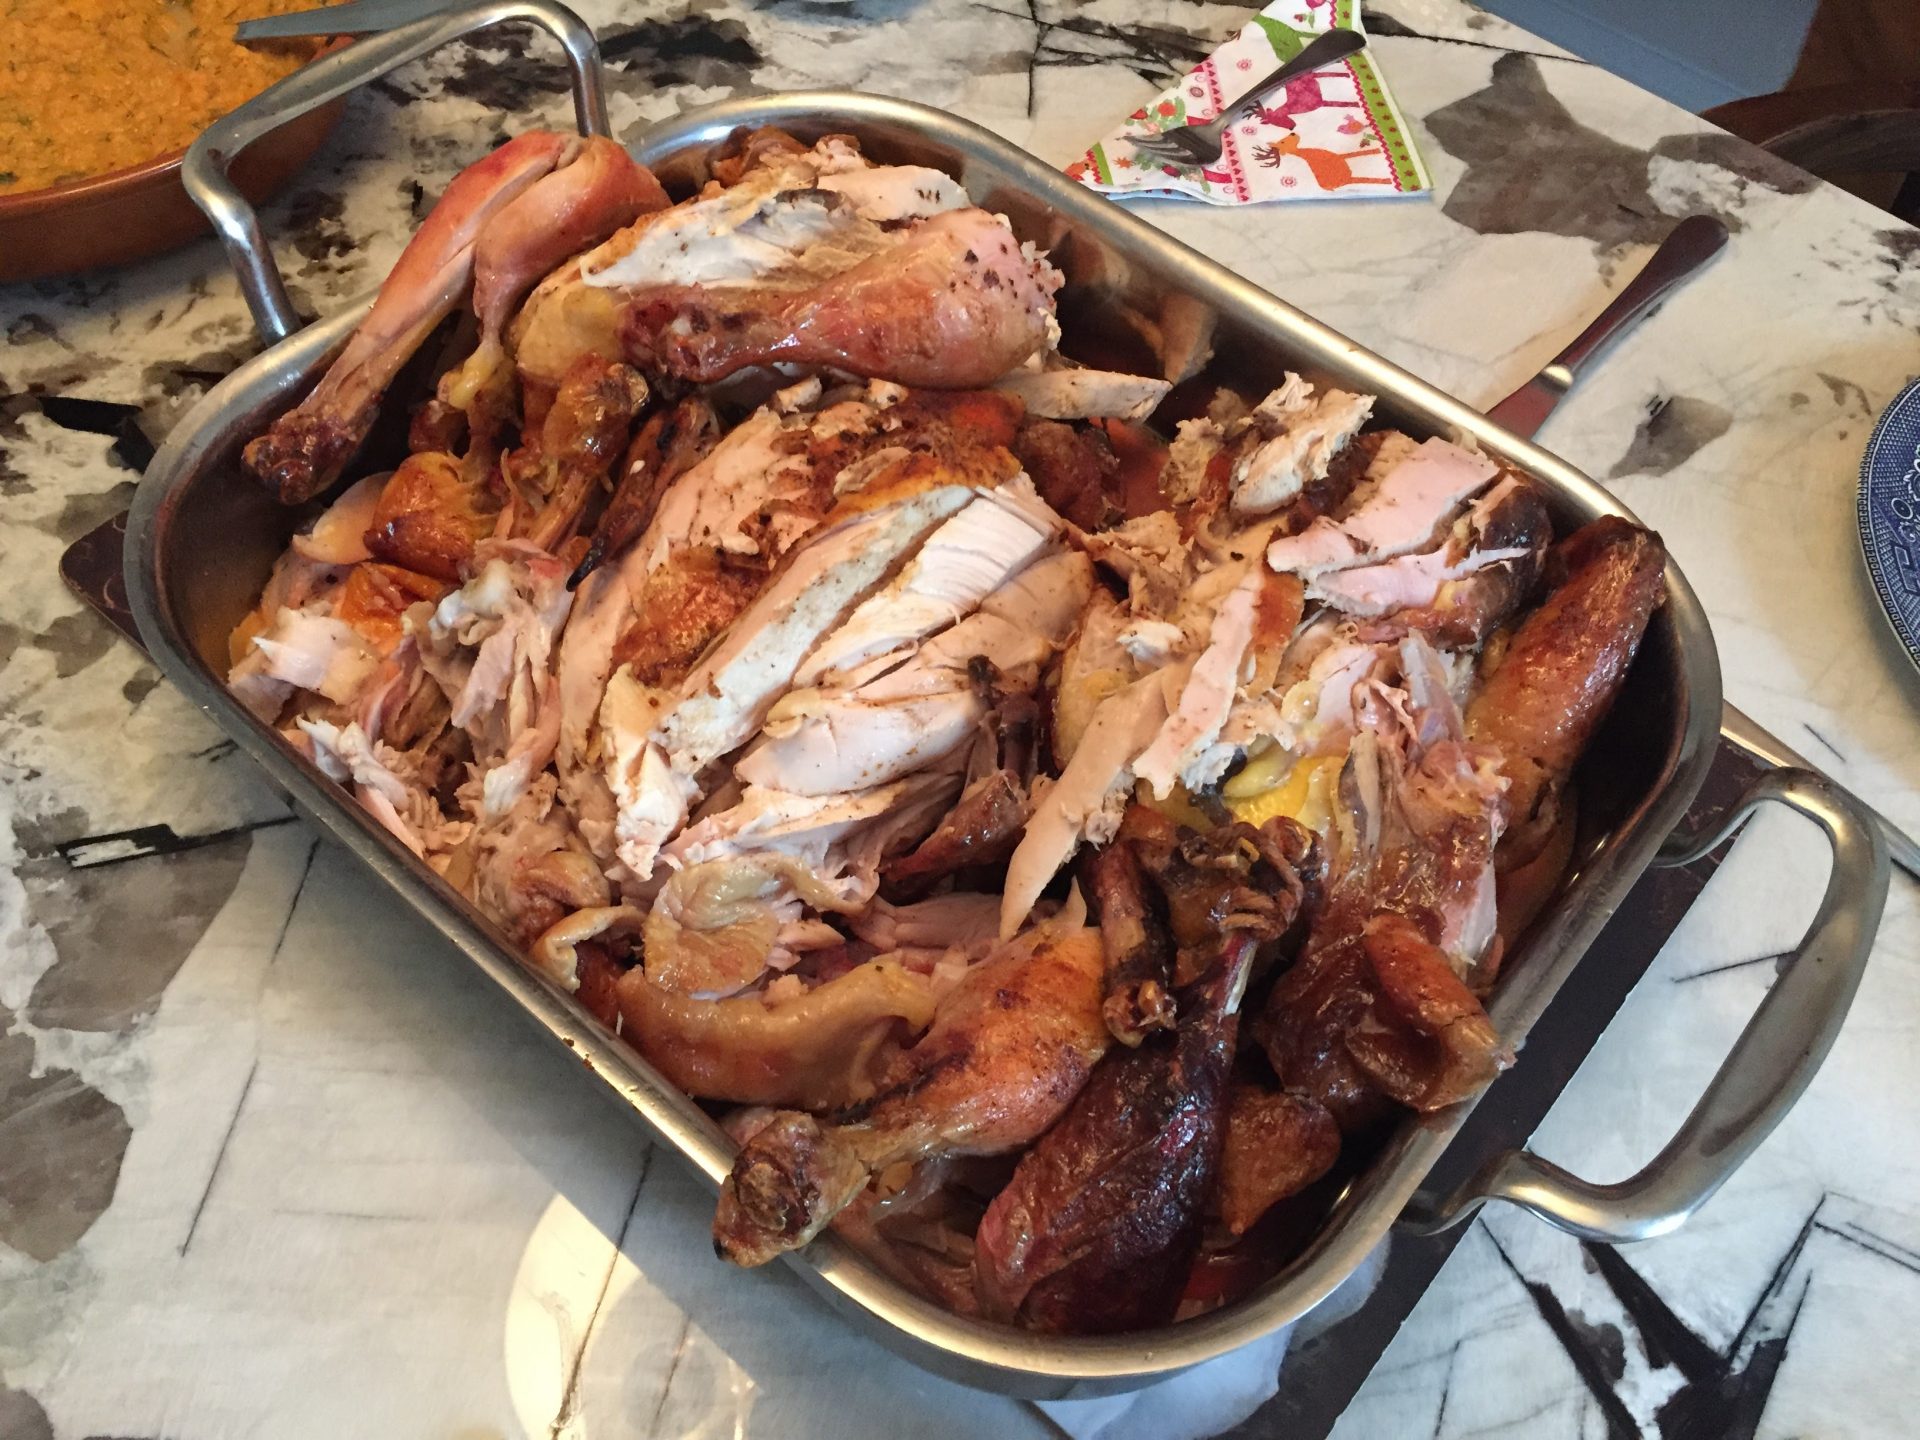
The resultant three bird “roast” was an real hit with the family, the skin being so crispy, and the flesh of each being so amazingly moist and flavourful. If I have the time I’ll probably be cooking all my poultry like this.
All in all, I don’t think I could recommend the Sansaire immersion circulator enough. I’ve had tremendous fun messing around with it, and if you have the time and the patience (and a copy of MacDonald’s cookbook) you’ll be able to produce some simply stunning dishes at home without learning any tricky techniques. The Sansaire is easy to use, easy to clean, and feels pretty sturdy compared to other models I have seen recently.
While it’s not the cheapest immersion circulator out there, I take Chef Chris McDonald at his word when he tells me of his preference for this unit, seeing as the man spent two years immersing himself (bad pun intended) in the exploration of sous vide.
I’ve only had mine for a few weeks, and yet I’m wondering how I ever did without it.
Incredibly highly recommended.
![]()
(Five apples out of a possible five)

Edinburgh-born/Toronto-based Sommelier, consultant, writer, judge, and educator Jamie Drummond is the Director of Programs/Editor of Good Food Revolution… And he’s grown to love his Sansaire Sous Vide.





I love my Sansaire sous vide. It moves me much closer to being an amazing cook! : )
While I love it, I want to share a problem I ran into in the hope that my sharing this warning will keep a bad thing from happening to other sous vide users (any brand).
BE SURE TO HAVE INSULATING MATERIAL BETWEEN SOUS VIDE POT AND QUARTZ OR GRANITE COUNTER TOPS!!
I wasn’t aware that this was an issue. The first time it cracked my quartz I didn’t even suspect my sous vide (I cook in a stainless steel pot). Last night I was cooking w my pot on a different area of my quartz counter… I heard it crack. To replace these cracked counter tops is going to cost more than $10k. That sucks and none of my literature warns of this. If you are cooking sous vide on granite or quartz, be sure to put your pot on a cutting board or any other insulating material.
I still love sous vide cooking… you will too.